2 ARM Virtual Machines
Contents
2.1 Build Targets
2.1.1 Machines
VM1 |
Target YAML2 |
Machine3 |
Target Recipe(s)4 |
Running Media5 |
Installation Media6 |
|---|---|---|---|---|---|
ARMv5 (ARM926EJ-S) |
|
|
|
Virtual HDD |
– |
ARMv5 (ARM926EJ-S) widh screen support |
|
|
|
Virtual HDD |
– |
ARMv8 (aarch64) |
|
|
|
Virtual HDD |
– |
ARMv8 (aarch64) with screen support |
|
|
|
Virtual HDD |
– |
- 1
Target virtual machine.
- 2
Target YAML-file located in the
kas/targetsdirectory.- 3
Target machine name stored in the
MACHINEBitBake variable for selected Target YAML.- 4
Recipes that will be built by default for the target. In Section 2.1.2, you can find list of supported recipes for the target images, which you can build in addition to the default recipes using optional
--targetoption in build command (see Section 2.2).- 5
External or internal data storage where the TanoWrt operating system is running.
- 6
External storage device for which an installation image is generated. When booting from the Installation Media, the TanoWrt system is installed on the Running Media storage.
2.1.2 Images
Read-Only Root Filesystem Image |
Recipe7 |
Supported by Target(s) |
Description |
|---|---|---|---|
|
|
All |
Standard TanoWrt image. |
|
|
qemuarm-screen.ymlqemuarm64-screen.yml |
Standard TanoWrt image with Qt5 support. |
- 7
Image recipe name. This name can be used as argument for
--targetbuild command option (see Section 2.2 section).
2.2 Build
Please read the common information on how to perform a TanoWrt images build and preparing the build environment in section “Building TanoWrt”.
See also
See section Section 2.1.1 to select the required target YAML file (
<target-yml>).See section Section 2.1.2 to select the required root filesystem image recipe (
<target-recipe>).See section Section 2.3 for detailed information about the produced build artifacts.
2.2.1 Examples
2.2.1.1 Build Default Image for ARMv8 (aarch64) Virtual Machine
$ kas build targets/kas/qemuarm64.yml
2.2.1.2 Build Default Image for ARMv8 (aarch64) with Screen Support Virtual Machine
$ kas build targets/kas/qemuarm64-screen.yml
2.2.1.3 Build Image with Qt5 for ARMv8 (aarch64) with Screen Support Virtual Machine
$ kas build --target twimg-qt5 targets/kas/qemuarm64-screen.yml
2.3 Produced Build Artifacts
All produced build artifacts are stored in the ~/tanowrt/build/tanowrt-glibc/deploy/images/<MACHINE> directory.
Refer to table Produced Build Artifacts for a description of some common (not all) build artifacts.
Artifact |
Target(s) |
Description |
|---|---|---|
Linux Kernel |
||
|
All |
Linux kernel binary image. |
Images |
||
|
All |
Bootable image including all required partitions for booting and running the virtual machine. This image is ready to be run in QEMU. |
Note
<MACHINE> in the artifacts path and artifacts file names are replaced by the actual
value of the MACHINE BitBake variable for the chosen target.
<rootfs-image> is replaced by the actual read-only root filesystem image name.
For example, below is the lists of artifacts produced by the qemuarm64-screen.yml
target build. There are two types of listings here —
a complete listing, and a reduced listing without the symbolic links display.
[~/tanowrt/build/tanowrt-glibc/deploy/images/qemuarm64-screen]$ ls -gGh | grep -v -e "^l"
total 48M
-rw-r--r-- 2  21M Jul 29 17:29 Image--5.10.70+git0+7dda2a9f69-tano0.2.7.20.0-qemuarm64-screen-20220729134818.bin
-rw-r--r-- 2 2.3M Jul 29 17:29 modules--5.10.70+git0+7dda2a9f69-tano0.2.7.20.0-qemuarm64-screen-20220729134818.tgz
-rw-r--r-- 2 5.0K Jul 29 17:31 twimg-default.env
-rw-r--r-- 2 1.7K Jul 29 17:31 twimg-default-qemuarm64-screen-20220729134818.qemuboot.conf
-rw-r--r-- 2  60K Jul 29 17:31 twimg-default-qemuarm64-screen-20220729134818.rootfs.manifest
-rw-r--r-- 2   24 Jul 29 17:31 twimg-default-qemuarm64-screen-20220729134818.rootfs.version
-rw-r--r-- 2  91M Jul 29 17:31 twimg-default-qemuarm64-screen-20220729134818.rootfs.wic
-rw-r--r-- 2 319K Jul 29 17:31 twimg-default-qemuarm64-screen-20220729134818.testdata.json
[~/tanowrt/build/tanowrt-glibc/deploy/images/qemuarm64-screen]$ ls -gGh
total 48M
lrwxrwxrwx 2   81 Jul 29 17:29 Image -> Image--5.10.70+git0+7dda2a9f69-tano0.2.7.20.0-qemuarm64-screen-20220729134818.bin
-rw-r--r-- 2  21M Jul 29 17:29 Image--5.10.70+git0+7dda2a9f69-tano0.2.7.20.0-qemuarm64-screen-20220729134818.bin
lrwxrwxrwx 2   81 Jul 29 17:29 Image-qemuarm64-screen.bin -> Image--5.10.70+git0+7dda2a9f69-tano0.2.7.20.0-qemuarm64-screen-20220729134818.bin
-rw-r--r-- 2 2.3M Jul 29 17:29 modules--5.10.70+git0+7dda2a9f69-tano0.2.7.20.0-qemuarm64-screen-20220729134818.tgz
lrwxrwxrwx 2   83 Jul 29 17:29 modules-qemuarm64-screen.tgz -> modules--5.10.70+git0+7dda2a9f69-tano0.2.7.20.0-qemuarm64-screen-20220729134818.tgz
-rw-r--r-- 2 5.0K Jul 29 17:31 twimg-default.env
-rw-r--r-- 2 1.7K Jul 29 17:31 twimg-default-qemuarm64-screen-20220729134818.qemuboot.conf
-rw-r--r-- 2  60K Jul 29 17:31 twimg-default-qemuarm64-screen-20220729134818.rootfs.manifest
-rw-r--r-- 2   24 Jul 29 17:31 twimg-default-qemuarm64-screen-20220729134818.rootfs.version
-rw-r--r-- 2  91M Jul 29 17:31 twimg-default-qemuarm64-screen-20220729134818.rootfs.wic
-rw-r--r-- 2 319K Jul 29 17:31 twimg-default-qemuarm64-screen-20220729134818.testdata.json
lrwxrwxrwx 2   66 Jul 29 17:31 twimg-default-qemuarm64-screen.manifest -> twimg-default-qemuarm64-screen-20220729134818.rootfs.manifest
lrwxrwxrwx 2   64 Jul 29 17:31 twimg-default-qemuarm64-screen.qemuboot.conf -> twimg-default-qemuarm64-screen-20220729134818.qemuboot.conf
lrwxrwxrwx 2   64 Jul 29 17:31 twimg-default-qemuarm64-screen.testdata.json -> twimg-default-qemuarm64-screen-20220729134818.testdata.json
lrwxrwxrwx 2   65 Jul 29 17:31 twimg-default-qemuarm64-screen.version -> twimg-default-qemuarm64-screen-20220729134818.rootfs.version
lrwxrwxrwx 2   61 Jul 29 17:31 twimg-default-qemuarm64-screen.wic -> twimg-default-qemuarm64-screen-20220729134818.rootfs.wic
2.4 Booting and Running
To run the built virtual machine image in QEMU you should run the command:
$ kas shell -c "runqemu <MACHINE>" kas/targets/<TARGET_YAML>
Where <MACHINE> is a target machine name for required target
and <TARGET_YAML> is a target YAML-file located in the kas/targets directory.
You can find values for <MACHINE> and <TARGET_YAML> in the table Table 2.1.
For example, to start virtual machine for qemuarm64.yml target you need
to run the following command:
$ kas shell -c "runqemu qemuarm64" kas/targets/qemuarm64.yml
When the virtual machine boots, you can log in using the default credentials or access via network to WebUI.
For running virtual machine with screen support you also need to set proper value
to environment variable DISPLAY. For example, for qemuarm64-screen.yml target:
$ kas shell -c "DISPLAY:=0 runqemu qemuarm64-screen" kas/targets/qemuarm64-screen.yml
2.5 Default Network Configuration
By default eth0 interface are joined into a bridge
(br-lan interface). Bridge (br-lan) configured with static IP address 192.168.7.2/24 with
enabled DHCP server.
The eth0 interface has enabled LLDP by default.
Default configuration /etc/config/network for qemuarm64-screen machine:
[root@tanowrt ~]# cat /etc/config/network

config interface 'loopback'
        option device 'lo'
        option proto 'static'
        option ipaddr '127.0.0.1'
        option netmask '255.0.0.0'

config device
        option name 'br-lan'
        option type 'bridge'
        option stp '1'
        list ports 'eth0'

config interface 'lan'
        option proto 'static'
        option ipaddr '192.168.7.2'
        option netmask '255.255.255.0'
        option gateway '192.168.7.1'
        option ip6assign '60'
        option device 'br-lan'

config globals 'globals'
        option ula_prefix 'fd05:b980:c78a::/48'
2.6 Web User Interface
The WebUI can be accessed via Ethernet port or USB network connection through HTTP(s) protocol. You must see something like this in browser after you logged in:
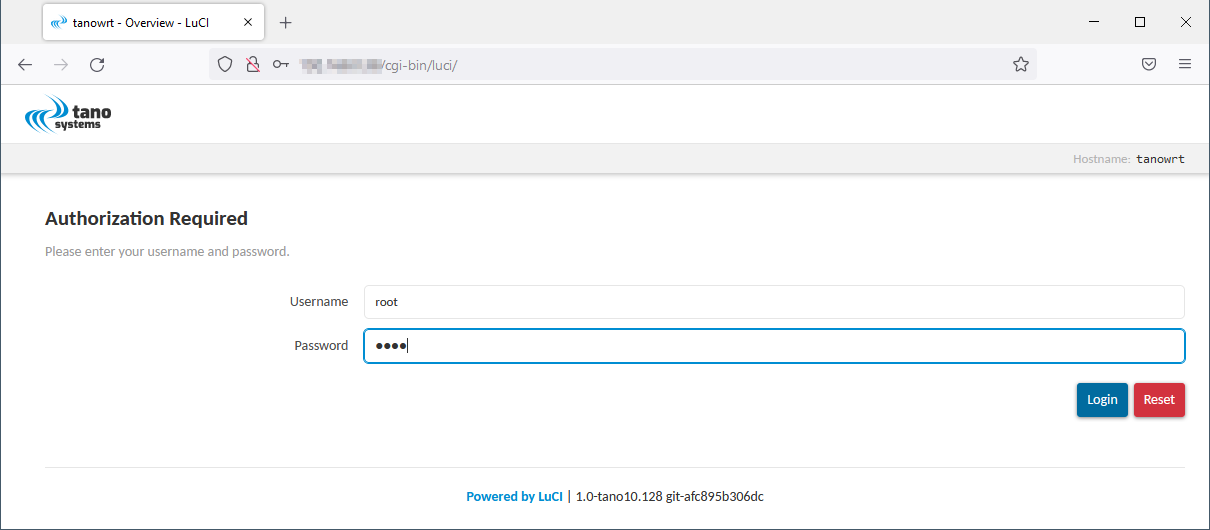
Fig. 2.1 LuCI WebUI Login Page
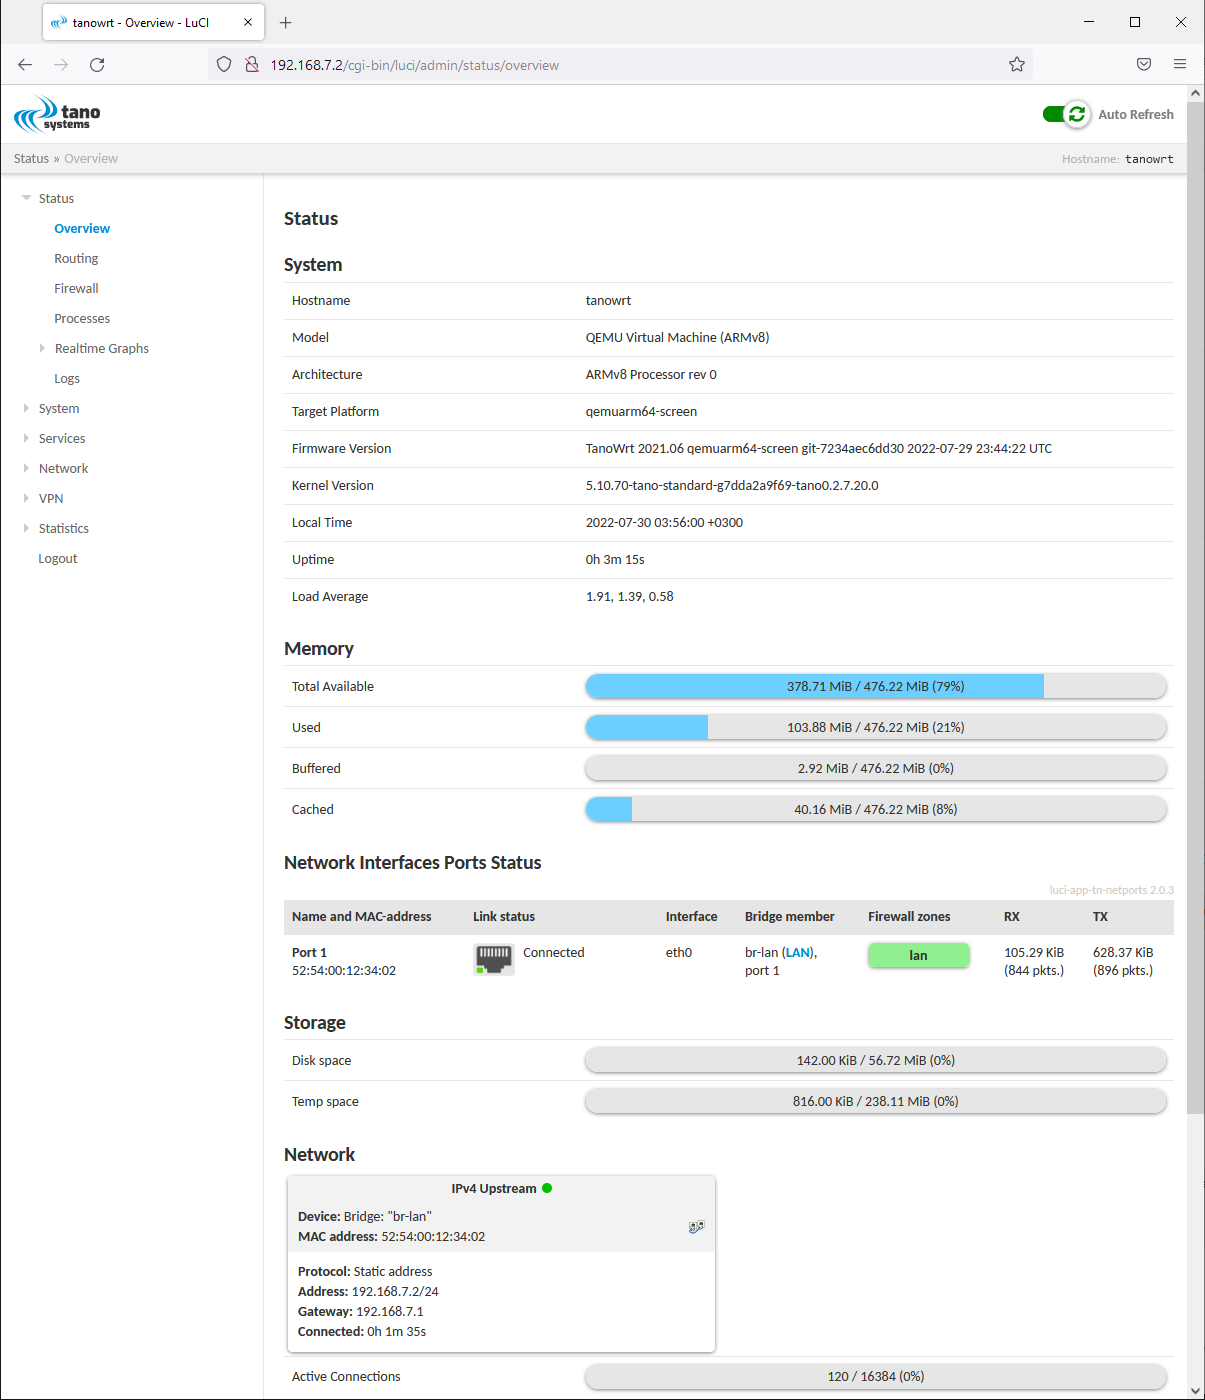
Fig. 2.2 LuCI WebUI Overview Page
2.7 Firmware Upgrade
Attention
Currently, the firmware upgrading for the ARMv5 and ARMv8 virtual machines is not supported.